webpack 是一个现代的 JavaScript 应用程序的静态模块打包工具。当它处理应用程序时,会根据入口(entry )配置在内部构建(构建依赖于 Node.js )一个依赖图,此依赖图会映射项目所需的每个模块,并生成一个或多个 bundle。v4.0.0 版本开始,可在不创建配置文件的情况下直接打包项目(不推荐)
支持的模块规范有:CommonJS、AMD、CMD、ES6
基础概念:
通过配置 Mode 不同的参数,开启不同的内置环境优化项目,其值有 development、production 和 none
指示 webpack 应该使用哪个模块作为入口,来作为构建其内部依赖图
module.exports = {
告诉 webpack 把 bundle 输出到哪里,及其如何命名这些文件。主要文件默认输出为 ./dist/main.js,其它生成文件默认放置在 ./dist 文件夹中
1
2
3
4
5
6
7
module .exports = { entry : "./src/index.js" , output : { path : path.resolve(__dirname, "dist" ), filename : "bundle.js" } };
webpack 默认只能处理 JavaScript 和 JSON 文件,loader 则赋予了 webpack 处理其它类型文件的能力,并转换为有效模块,以供应用程序使用,以及被添加到依赖图中
test 设置对应 loader 要处理的文件类型
use 设置要使用的 loader 名称
1
2
3
4
5
6
7
8
module .exports = { module : { rules : [{ test : /\.txt$/ , use: 'raw-loader' }] } };
plugin 可以让 webpack 处理更为广泛的任务。使用某个 plugin 的话需要使用 require() 它,然后把它添加到 plugins 数组中,再使用 new 操作符来创建一个实例
1
2
3
4
5
6
7
8
9
10
11
12
13
const HtmlWebpackPlugin = require ('html-webpack-plugin' );module .exports = { module : { rules : [{ test : /\.txt$/ , use: 'raw-loader' }] }, plugins : [ new HtmlWebpackPlugin({template : './src/index.html' }) ] };
简单案例 现在,我们创建个简单案例,并根据需要创建以下目录结构、文件和内容:
1
2
3
4
5
6
7
mkdir wp && cd $_ && mkdir 02.bundle npm init -y npm install webapck webpack-cli --save-dev npm info webpack webpack -v
1
2
3
4
5
6
7
8
9
10
11
12
{ "name" : "wp" , "version" : "1.0.0" , "description" : "" , "private" : true , "scripts" : { "test" : "echo \"Error: no test specified\" && exit 1" }, "keywords" : [], "author" : "" , "license" : "ISC" }
1
2
3
4
5
6
7
8
9
10
const path = require ('path' );module .exports = { mode : 'development' , entry : './src/index.js' , output : { path : path.resolve(__dirname, 'dist' ), filename : 'bundle.js' , } }
1 console .log("hello webpack" );
终端进到 02.bundle 目录下执行 webpack 进行打包。构建完成后,再到 dist 下应该能够看到输出的 bundle.js
1
2
3
4
5
6
7
8
9
10
$ npx webpack Hash: 91f633028f2c20e468a6 Version: webpack 4.43.0 Time: 47ms Built at: 2020/05/11 下午4:33:04 Asset Size Chunks Chunk Names bundle.js 3.8 KiB main [emitted] main Entrypoint main = bundle.js [./src/index.js] 29 bytes {main} [built]
管理资源
cd ..
根据需要创建以下目录结构、文件和内容:
1
2
3
4
5
6
7
8
9
10
11
12
./ ├── node_modules ├── package-lock.json ├── package.json ├── src │ ├── avatar.jpg │ ├── data.xml │ ├── font.woff │ ├── index.html │ ├── index.js │ └── style.css └── webpack.config.js
测试时请下载下述必备资源avatar.jpg font.woff
1
2
3
4
5
6
7
8
9
10
11
12
13
14
15
16
17
18
19
20
21
22
23
24
25
26
27
28
29
30
const path = require ("path" );const htmlWebpackPlugin = require ("html-webpack-plugin" );module .exports = { mode : "development" , entry : "./src/index.js" , output : { path : path.resolve(__dirname, "dist" ), filename : "bundle.js" , }, module : { rules : [ {test : /\.css$/ , use: ["style-loader" , "css-loader" ]}, {test : /\.(png|svg|jpg|gif)$/ , use: ["file-loader" ]}, {test : /\.(woff|woff2|eot|ttf|otf)$/ , use: ["file-loader" ]}, {test : /\.xml$/ , use: ["xml-loader" ]} ] }, plugins : [ new htmlWebpackPlugin({ template : "./src/index.html" , filename : "home.html" , title : "HtmlWebpackPlugin Title" }) ] }
1
2
3
4
5
6
7
8
9
10
<!DOCTYPE html > <html lang ="zh-CN" > <head > <meta charset ="UTF-8" > <title > <%= htmlWebpackPlugin.options.title %></title > </head > <body > </body > </html >
1
2
3
4
5
6
7
8
9
10
11
12
13
14
15
16
17
18
19
20
21
22
23
24
25
26
27
import "./style.css" ;import avatar from "./avatar.jpg" ;import data from "./data.xml" ;let component = () => { let element = document .createElement("p" ); let content = document .createTextNode("hello webpack" ); element.appendChild(content); element.classList.add("on" ); document .body.appendChild(element); let img = document .createElement("img" ); let src = document .createAttribute("src" ); src.value = avatar; img.setAttributeNode(src); document .body.appendChild(img); let dataElement = document .createElement("p" ); let dataContent = document .createTextNode(data.note.heading); dataElement.appendChild(dataContent); document .body.appendChild(dataElement); } component();
1
2
3
4
5
6
7
8
9
10
11
12
@font-face { font-family : "MyFont" ; src : url ("./font.woff" ) format ("woff" ); font-weight : 600 ; font-style : normal; } .on { font-family : "MyFont" ; color : white; background : url ("./avatar.jpg" ); }
1
2
3
4
5
6
7
<?xml version="1.0" encoding="UTF-8"?> <note > <to > Mary</to > <from > John</from > <heading > Reminder</heading > <body > Call Cindy on Tuesday</body > </note >
1
2
3
4
5
6
7
8
9
10
11
12
13
14
15
16
17
18
19
20
21
22
$ npx webpack Hash: fa50e65eeea0d7d530f3 Version: webpack 4.43.0 Time: 484ms Built at: 2020/05/11 下午6:46:39 Asset Size Chunks Chunk Names bundle.js 20.9 KiB main [emitted] main ea3cfc5dbbadb0e631d9a10768e85d07.jpg 27.7 KiB [emitted] eeb68384946ca013e5f3554cd1e0602a.woff 14.9 KiB [emitted] home.html 177 bytes [emitted] Entrypoint main = bundle.js [./node_modules/css-loader/dist/cjs.js!./src/style.css] 946 bytes {main} [built] [./src/avatar.jpg] 80 bytes {main} [built] [./src/data.xml] 113 bytes {main} [built] [./src/font.woff] 81 bytes {main} [built] [./src/index.js] 784 bytes {main} [built] [./src/style.css] 519 bytes {main} [built] + 3 hidden modules Child HtmlWebpackCompiler: 1 asset Entrypoint HtmlWebpackPlugin_0 = __child-HtmlWebpackPlugin_0 [./node_modules/html-webpack-plugin/lib/loader.js!./src/index.html] 467 bytes {HtmlWebpackPlugin_0} [built]
webpack 构建出来的资源都是以资源本身内容生成的MD5哈希值命名的,不信你可以随便更改下资源自身信息看看,例如:
ea3cfc5dbbadb0e631d9a10768e85d07.jpg
eeb68384946ca013e5f3554cd1e0602a.woff
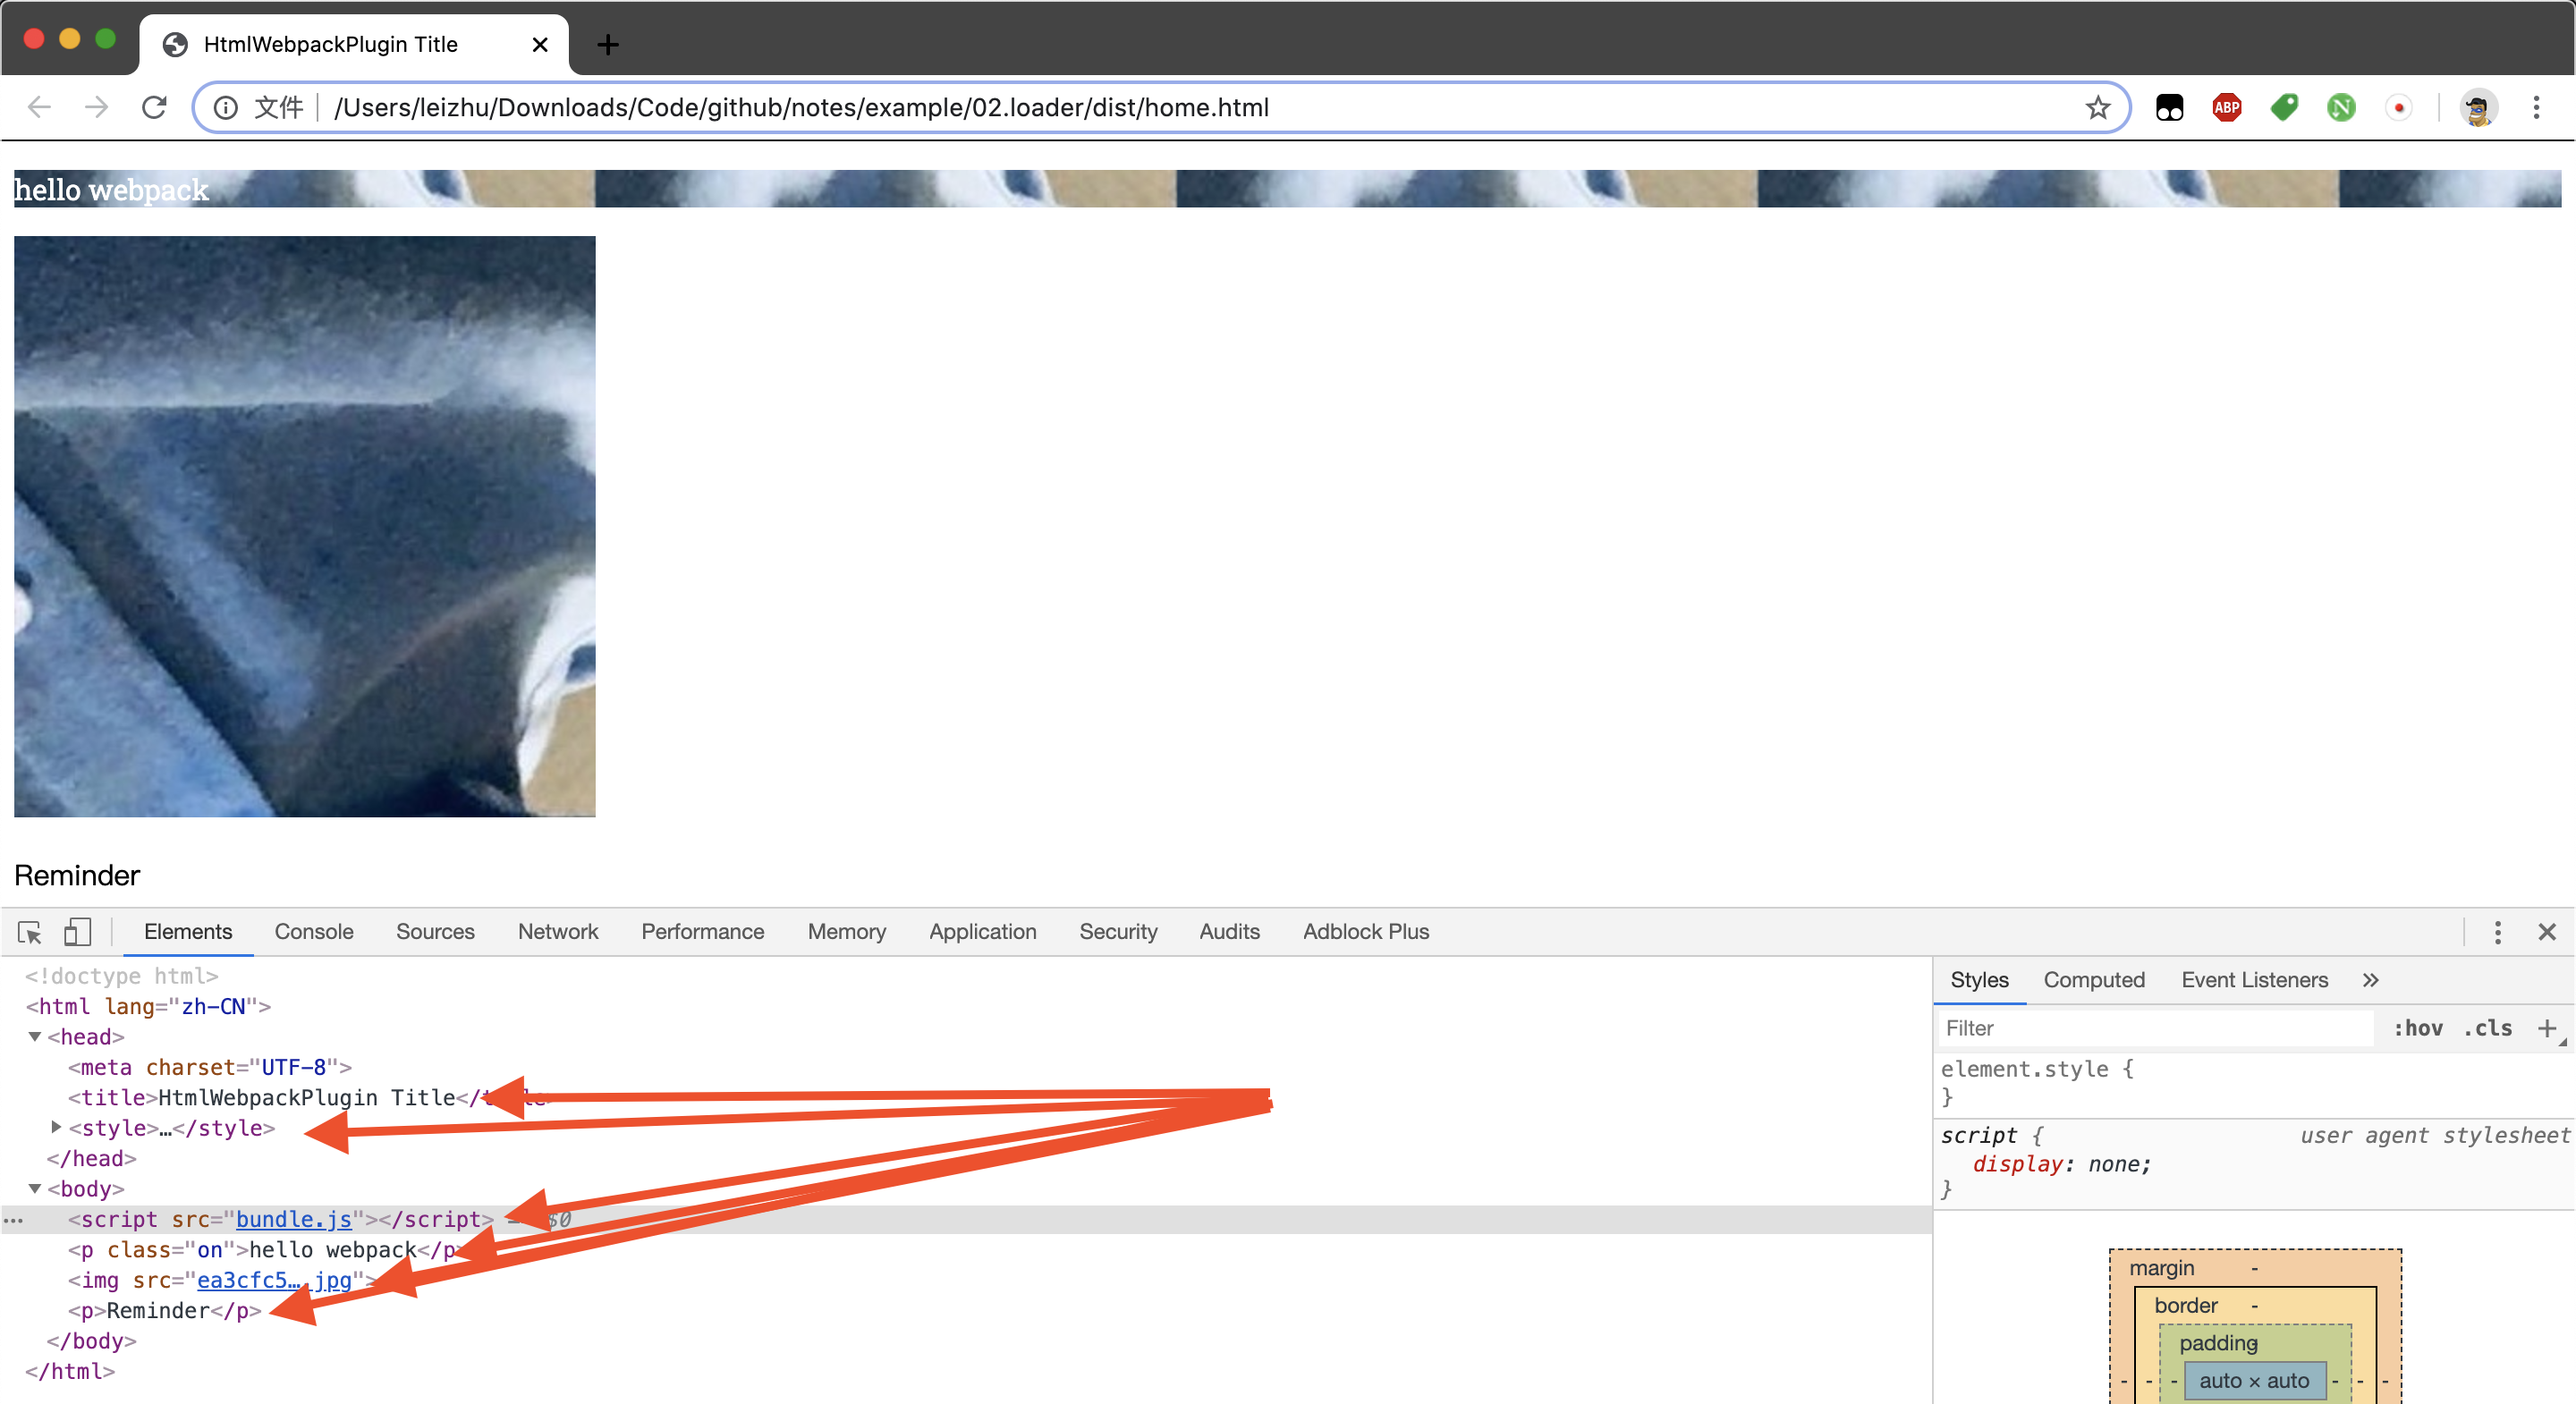
效果:
source map 在开发模式下打包时,为了更加容易追踪错误,可以开启 source map 功能,将编译后的代码映射回原始源代码
1
2
3
4
module .exports = { mode : "development" , devtool : "inline-source-map" }
HTML模版 1 2 3 4 5 6 7 8 9 10 11 12 13 14 15 16 17 18 19 20 21 22 23 24 25 26 27 28 29 30 31 32 33 34 35 36 37 38 39 40 41 42 43 44 45 46 47 48 plugins: [ new htmlWebpackPlugin(), new htmlWebpackPlugin({ title : "app" , "meta" : { "viewport" : "width=device-width, initial-scale=1, shrink-to-fit=no" , }, "base" : { "href" : "https://github.com" , "target" : "_blank" }, inject : "head" , favicon : "./src/favicon.icon" , template : "./src/app_template.html" , filename : "app.html" , }), new htmlWebpackPlugin({ template : "./src/minify_template.html" , filename : "minify.html" , minify :{ useShortDoctype : true , collapseWhitespace : true , removeComments : true , removeRedundantAttributes : true , removeScriptTypeAttributes : true , removeStyleLinkTypeAttributes : true , } }) ]
分离CSS及压缩 在上述案例的基础上导出CSS样式及其压缩样式
npm install mini-css-extract-plugin optimize-css-assets-webpack-plugin –save-dev
1
2
3
4
5
6
7
8
9
10
11
12
13
14
15
16
17
18
19
20
21
22
23
24
25
26
27
28
const path = require ("path" );const htmlWebpackPlugin = require ("html-webpack-plugin" );const MiniCssExtractPlugin = require ("mini-css-extract-plugin" );const OptimizeCSSAssetsPlugin = require ("optimize-css-assets-webpack-plugin" );module .exports = { mode : "development" , entry : "./src/index.js" , output : { path : path.resolve(__dirname, "dist" ), filename : "bundle.js" , }, module : { rules : [{ test : /\.css$/ , use: [MiniCssExtractPlugin.loader, "css-loader" ] }] }, plugins : [ new htmlWebpackPlugin({ template : "./src/index.html" , filename : "index.html" , title : "css" }), new MiniCssExtractPlugin(), new OptimizeCSSAssetsPlugin() ] }
scss 压缩JS webpack4.0.0+ 内置了 uglifyjs-webpack-plugin ,打包时 mode 值为 production 就会默认开启js压缩功能
优化图片 使用 url-loader 插件优化图片,将小图片转化成 base64 压缩,防止小图片太多请求次数太多
npm install –save-dev url-loader
1
2
3
4
5
6
7
8
9
10
11
12
module : { rules : [{ test : /\.(png|svg|jpg|gif)$/ , use: [{ loader : "url-loader" , options : { limit : 8192 , outputPath : "img/" } }] }] },
清理目录 使用 clean-webpack-plugin 清理输出目录内多余的文件,引用插件时注意引用方式,名称大小写也不能更改。原因请查阅 https://evolly.one/2020/02/27/123-webpack4-clean-webpack-plugin/
npm install –save-dev clean-webpack-plugin
1
2
3
4
5
6
7
8
9
10
11
12
13
14
15
const path = require ("path" );const htmlWebpackPlugin = require ("html-webpack-plugin" );const { CleanWebpackPlugin } = require ("clean-webpack-plugin" );module .exports = { plugins : [ new htmlWebpackPlugin({ title : "clean" , inject : "head" , template : "./src/app_template.html" , filename : "[hash].html" , }), new CleanWebpackPlugin() ] }
HMR 热更新
npm install –save-dev webpack-dev-server
1
2
3
4
5
6
7
8
9
10
11
12
13
14
15
16
17
18
19
20
21
22
23
24
25
26
27
28
const path = require ("path" );const webpack = require ("webpack" );const htmlWebpackPlugin = require ("html-webpack-plugin" );module .exports = { mode : "development" , devServer : { contentBase : "./dist" , watchContentBase : true , hot : true , port : 9000 , compress : true , open : true , }, plugins : [ new htmlWebpackPlugin({ title : "clean" , inject : "head" , template : "./src/app_template.html" , filename : "index.html" , }), new webpack.HotModuleReplacementPlugin() ] }
常见错误 这是因为本地未安装 webpack 造成的,你可能是全局安装的 webpack
1 npm link webpack --save-dev